Managing Certificates
Goal: Enable students who pass a course to request a certificate. Their grade will be verified, and if they have passed then they will receive a digital certificate which can be printed.
Pre-verify your course
Access your course in Studio ([platform url]:18010)
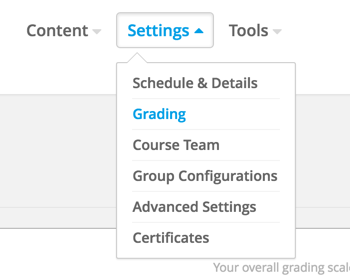
Go to Settings > Grading
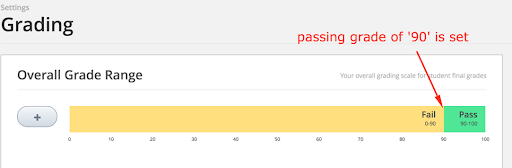
Verify that your passing Grade is accurate.
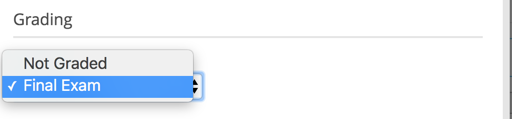
Verify that your grading Assignment Types are accurate. For example, if you have one final exam, then your setup will look something like this.

Verify that you have graded items in your Course Outline that match your Assignment Types.
- Go to Course Outline.
- On a subsection, click the gear icon

- Click the ‘Grade As’ Dropdown and choose your Assignment Type.
Set up your certificates
Click on Settings > Certificates.
Click the button to set up your certificate:

Note: If you cannot see ‘Settings > Certificates’ then go to advanced settings and confirm that “Certificate Web/HTML View Enabled” = true:
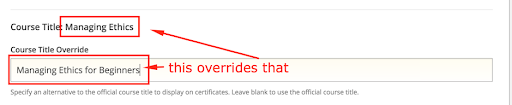
Optionally, you can override the course title:
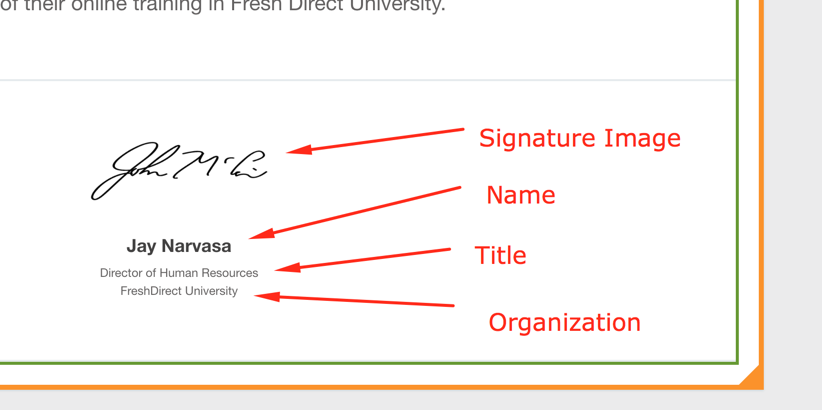
Add one or more signees.

Activate Your Certificates in CMS (Studio)
Certificate mode will always be ‘honor’.
Click ‘Activate’. Your certificate will now be active.


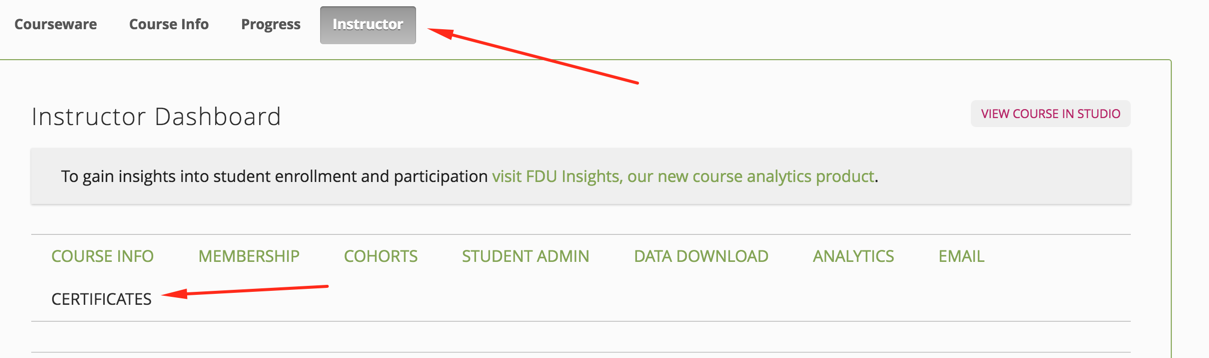
Activate Your Certificates in LMS
Access your course from LMS.
Go to your Instructor Dashboard > Certificates.
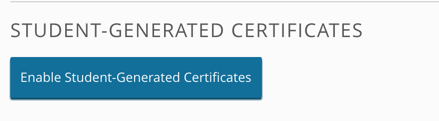
Click to Enable Student-Generated Certificates:
Pass the course, and confirm that you can see a certificate request button on the Progress Dashboard.