Scaling Memcached
Create a New EC2 Instance
Launch a new EC2 instance from the AMI
Login in to AWS account.
Select Launch Instance.
Select Image "Ubuntu Server 20.04 LTS (HVM), SSD Volume Type.

Select t2.medium.

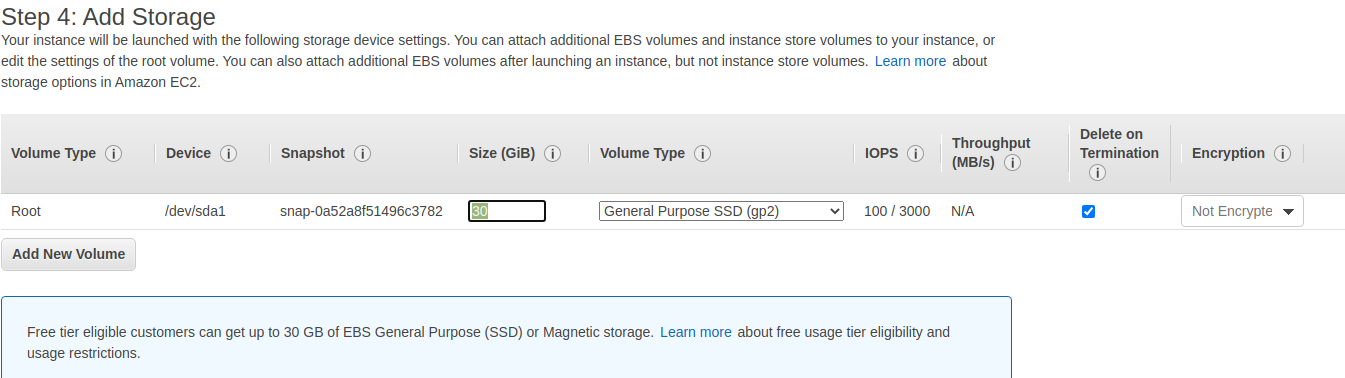
Add Storage >Enter 30GB
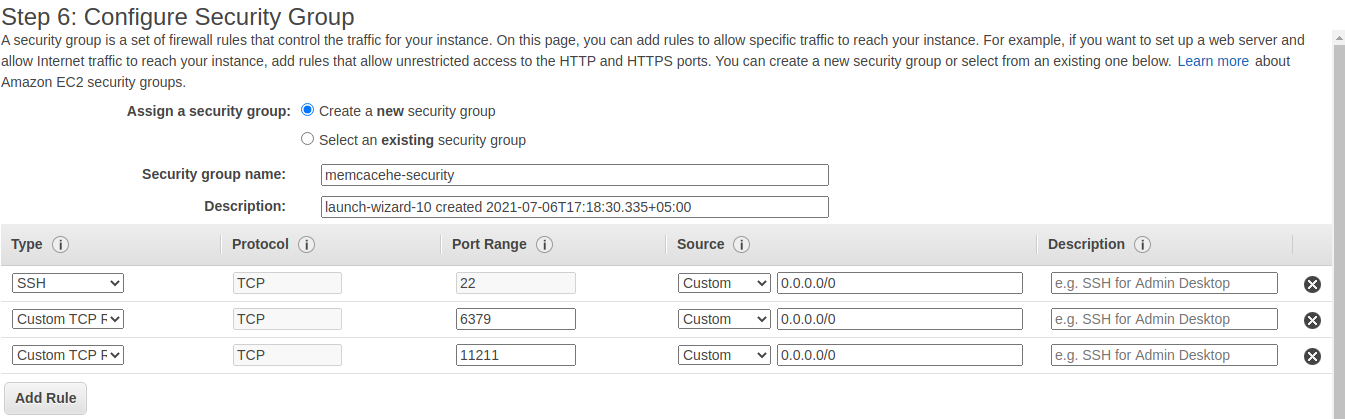
Configure Security Group
Install memcached
Access the memcache server through ssh from terminal.
Execute the following commands.
 sudo apt update
 sudo apt install memcached
 sudo apt install libmemcached-tools
Configure memcached to accept remote connections.
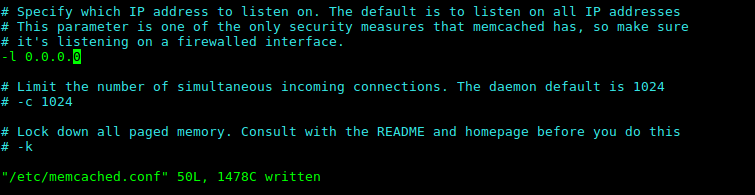
Edit the file /etc/memcached.conf on or around row 35 as follows:
nano /etc/memcached.conf
Change the "-l 127.0.0.1" with "-l 0.0.0.0"
Reboot the remote Memcached server
sudo reboot
Reconfigure Open edX to Connect to Your Remote Memcached Serve
Access the OpenEdx server through ssh from terminal.
Modify memcached host settings
Get the files where memcached is configured to do this use the following grep command
sudo grep -r '11211' /edx/etc/*.yml
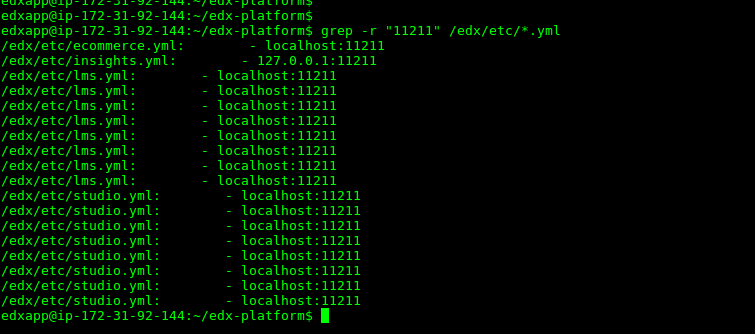
In total there are 4 files with memcache is set.
Access each file using nano
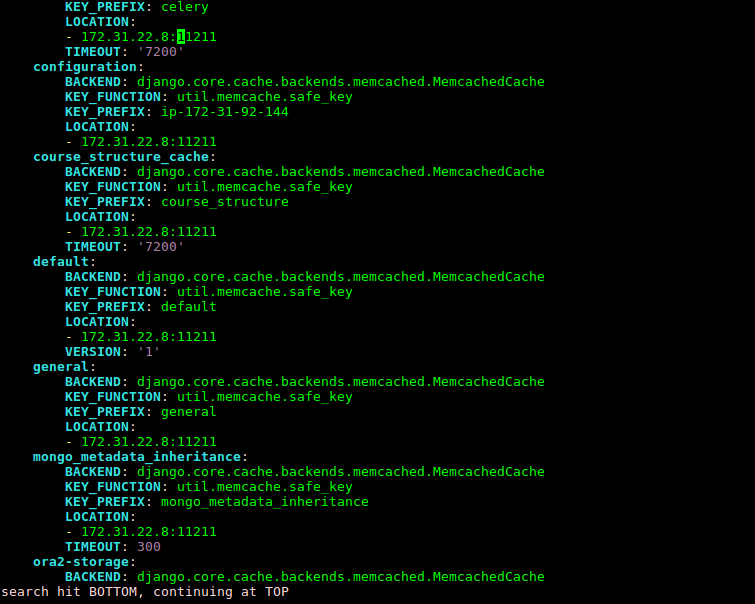
 nano /edx/etc/lms.yml
 nano /edx/etc/studio.yml
 sudo nano /edx/etc/ecommerce.yml
 sudo nano /edx/etc/insight.yml
Example of lms.yml
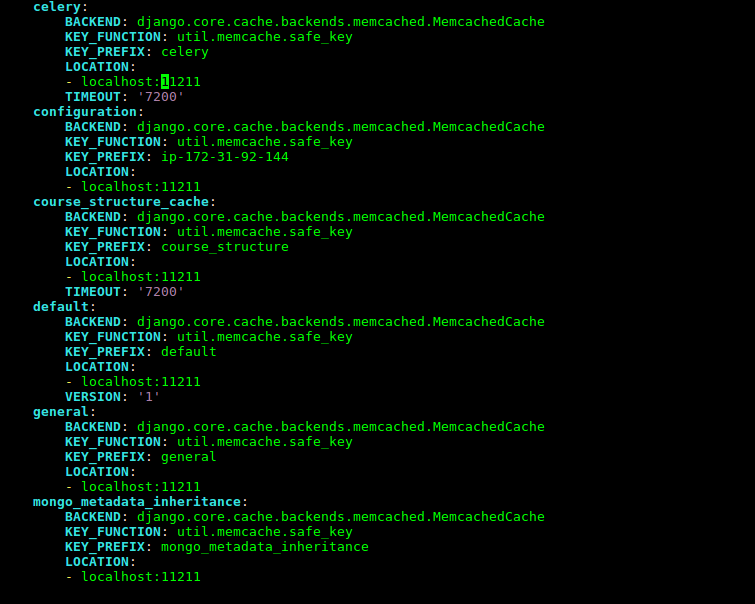
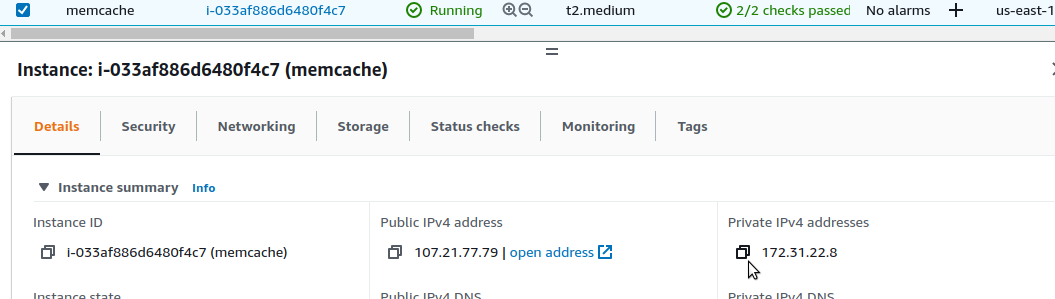
Replace the "localhost" or "127.0.0.1" with the memcache server Private IP in all the 4 files.
Updated lms.yml
Stop the memcached service on your edxapp server.
 sudo service memcached stop
 sudo systemctl disable memcached
Do a full reboot of your OpenEdx Ubuntu server when you finish.
sudo reboot
Test Your Changes
Check memcached status locally.
Access the memcache server through ssh from terminal.
 echo stats | nc 127.0.0.1 11211
 memcstat --servers=127.0.0.1 11211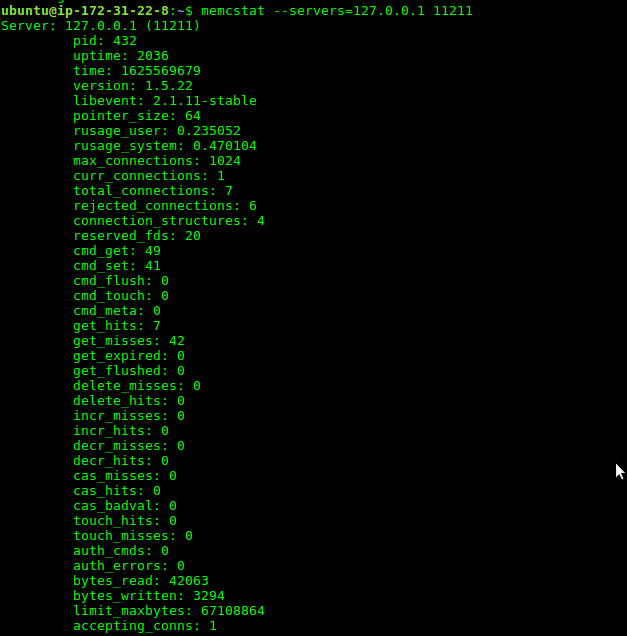
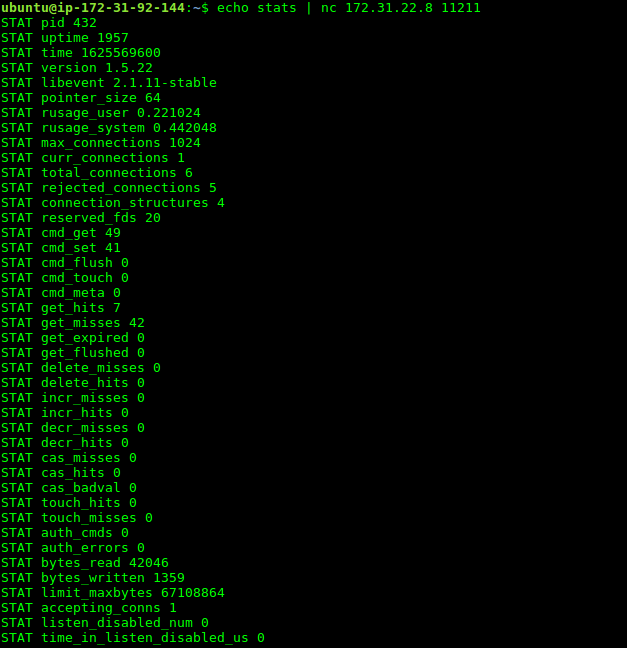
Check memcached status remotely from openedx server.
Access the OpenEdx server through ssh from terminal.
 echo stats | nc 172.x.x.x 11211
 memcstat --servers=172.x.x.x 11211